|
Over the past two weeks in class we have only been focused on 3DS Max. Mr. B has given us a pretty good amount of projects, so we always have had something to work on. The biggest one he's given us is the reason I'm doing this blog post, freedom to modify. The first part of the assignment was to go into 3DS Max and create a minimum of five primitives, and then play around using different modifiers. The first primitive that I made was a tube and used the bend modifier which tilts the tube to one side or the other, I set mine to angle: 15.5 and direction: 388.8. The second primitive I made was a box, then I put the chamfer modifier, which makes the sharp sides of the box soft, I set the amount to 1.083. The third primitive that I made was a geosphere, where I used the edit mesh and noise modifier, I used the edit mesh modifier to extrude a few polygons and then I used the noise modifier to change the shape of the extruded polygons, i set the seed to 90, and the X, Y, and Z, to 40. The fourth Primitive that I made was a cone, and for that I used the noise modifier to change the shape, for this I changed the seed to 85, the scale to 187.174, and the X strength to 80. The final primitive that I created was a cylinder, and for this I used the twist modifier. For the twist the only thing I changed was setting the angle to 533.5. The second part of the assignment was to create a lamp, a robot, or a 19th century gas lamp. I chose to make the normal lamp and found a lamp that I liked and got to work. The first thing that I did was create a cylinder and then make a copy and scale it down, then place it on top of the other one. Then I made three identical torus' and placed those on top of the two cylinders, then I made a box that was really thin and fit inside of the torus'. Then I was at the lamp shade and I created a cylinder, then used the edit mesh modifier to adjust the height segments and set it to 5. Then I used the taper modifier to make the shape and set it to -0.48. Then I used the squeeze modifier to make it a little bit taller and change the shape a little bit, I set the amount to 0.7, the curve to 5.03, the curve to 2, the lower and upper limits to 50 and -50. Pictures:  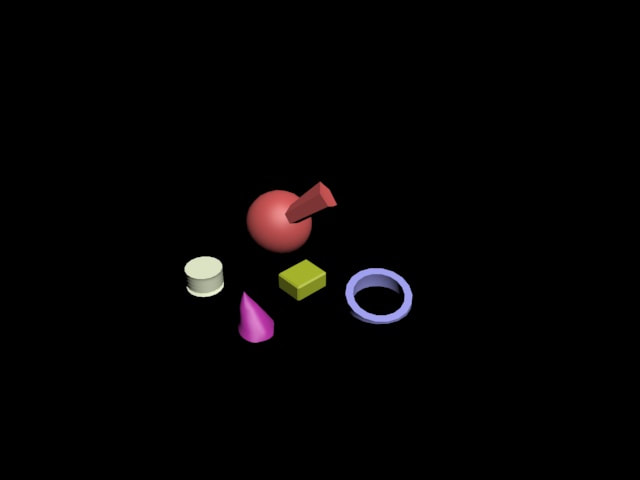
0 Comments
This week in class we started our work in 3DS Max. 3DS Max is a very popular program for graphic designers and animators, where you can do 3D modeling by using the Cartesian coordinates system to create 3D shapes. This week we started out by working with coordinates on only the x and y axes, after that we used 3DS Max to work on the x, y, and z axes. Our first assignment in 3DS was to create a snowman and we did that by creating four sphere's and then stacking them on top of one another. Then we made seven more sphere's for the eyes and buttons. The goal of this assignment was to only use primitive shapes like boxes, spheres, and cones. After that Mr.B had us watch a tutorial on how to make a pencil, this was odd because the tutorial was a little bit outdated and it looked like the woman who was teaching the tutorial was using windows 97, but that was just something that bothered me. to create a pencil, we started with the eraser and worked down. to create the eraser we created a cylinder and then made it pink, then we went on to the little metal bit between the eraser and pencil. To do this I created a copy of the erased and then turned it silver, and also decreased the sides to make it look more jagged. Then I made two taurus and put those around the metal bot. Then I made a long cylinder and decreased the sides to 6, and made it yellow to create the pencil part. Then I made the tip by creating two cones and decreasing the radius of one and put it inside of the other and changing the colors. On Monday I am going to go in and learn how to submit these to Mr.B.
Summary:
www.lynda.com/3ds-max-tutorials/what-3ds-max/123561/133714-4.html en.wikipedia.org/wiki/Cartesian_coordinate_system |
